 Construction Plane
Construction planes are invisible flat surfaces to sketch on — for building at an offset from a face, or at an angle. Click a reference, position the plane, then press the blue Create plane button (or Enter):
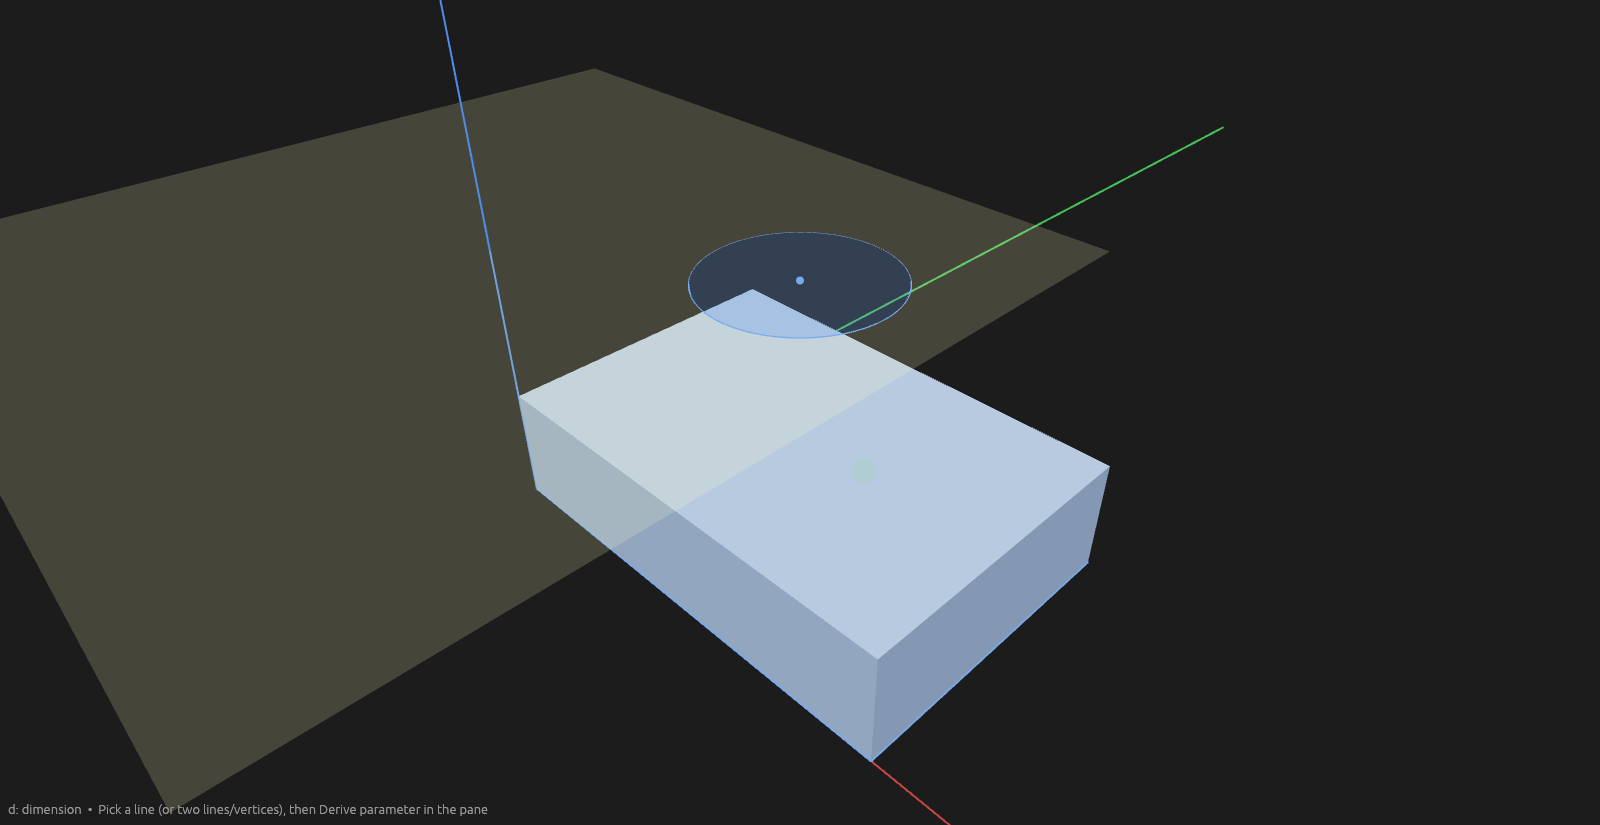
- Click a face (the ground, another plane, or a body's face): the new plane sits parallel to it. Drag the arrow handle, or type an Offset in the context pane.
- Click an edge or axis (a sketch line, a body edge, or one of the origin's X/Y/Z axes): the plane pivots around it. Set an Offset and an Angle — the angle handle on the ring rotates it, and both show as inputs in the context pane too.
- Click a vertex on a line or curve: the plane passes through that point with the curve normal to it — perfect for sweeping a profile along the curve from there. If several lines meet at the vertex, pick which one's direction to use under Normal in the context pane. Drag the arrow or type an offset to walk the plane along the curve direction.
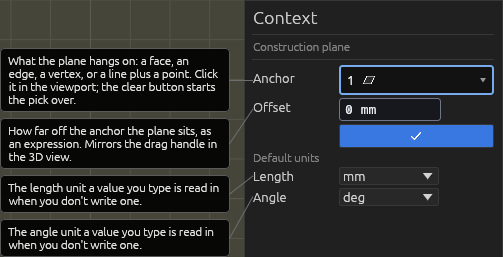
The context pane shows the picked anchor (its ✕ clears it so you can re-pick), the offset/angle inputs, and the Create plane button. The plane is created only when you press that button or Enter — clicking in the scene just positions the gizmo.
Planes never render as solid and never appear in exports; they exist only to hold sketches. Their handles stay visible and grabbable even when a body is in front of them.
Hiding a plane puts the plane away, not the work — sketches drawn on it stay visible.
Starting planes and resizing
Every new document starts with three planes — XY, XZ and YZ — meeting at the origin.
Select a plane (in the Elements pane or by clicking it) and, with the Select tool, drag either corner grip to resize its rectangle. The size is how the plane is drawn; sketching and extrude-to targets still treat it as reaching forever.
Help
See Scripting.